Light Trails / Long Exposure Video AE Tutorial
- danorst
- Jul 25, 2017
- 2 min read
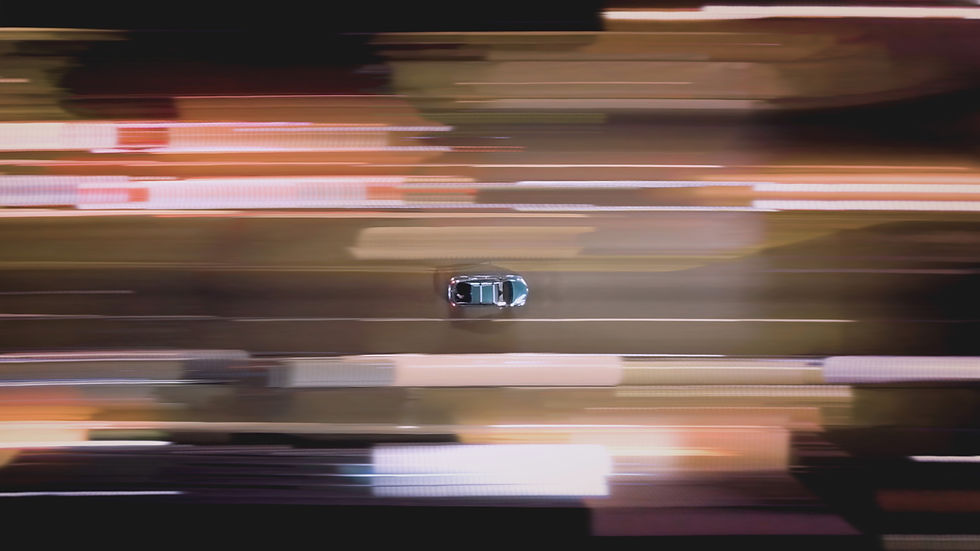
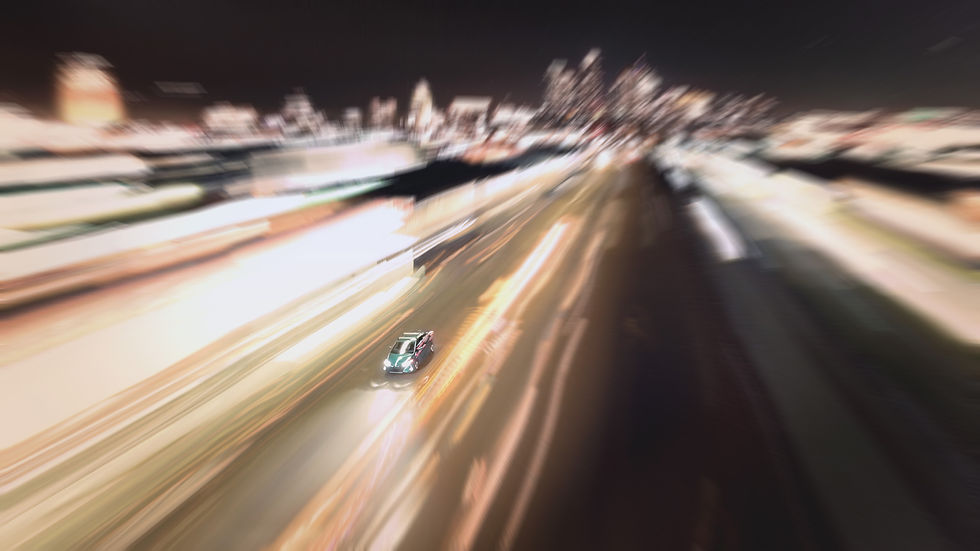
Today I break down how I create light trails from video and how to create a video panning shot. A panning shot is where a camera pans horizontally to track a subject in a frame, keeping the subject sharp, while blurring the background. Recently I created a video for Toyota that combined my Light Trails / Long Exposure Video technique and video Panning effect and I got a ton of question and tutorial requests on how I created the effect. So here it is!

This tutorial demonstrates how to create the effect in After Effects by Adobe, a lot of the same technique can also be applied in Premiere. Inside After Effects take a locked down video shot and duplicate the layer a few times, then offset each layer by one frame. Change the blending mode to Lighter Color. This will replicate the Long Expo Video effect by compositing the brighter pixels as they move in time.

Similarly you can add the "Echo" Effect to the video layer, or an adjustment layer. By default the options are pretty useless. Switch the mode to Maximum and change the number of Echos to the desired light trail length. Warning high numbers here exponential increase render time. Also note the mode minimum will have the opposite effect and show the darker color instead. This plug-in is also availbe in Premiere and works the same.

In the Toyota video I shot tracking shots from a drone (Phantom P4P) and car to car shot using the original DJI Osmo. The shots were stabilized to the car and then the Long Exposure video effect was applied to the stable footage. In a few of the shots I used 3D tracking to calculate tracker points and rendered the trackers into the scene to create even more light sources to create more trails.

I stacked copies of this effect on top of itself along with a few other distortion effects to give the Light Trails and even more organic shape and movement. Here is the full video:
You can see more examples of the lightrail effect in this post: Long Exposure Video Gifs


